To import exhibits, you run the Exhibit Import Wizard. When you import exhibits, Sanction creates copies of the exhibit files and places the copies in the Exhibits folder of the case on your computer. The import process leaves the original exhibit files untouched.
File and page naming conventions
When you import exhibits, Sanction assigns names to the exhibits and exhibit pages. It also numbers exhibit pages. The values for these are assigned as follows:
| • | The exhibit name is drawn from the file name without the file extension. |
| • | The names of pages take the name of the exhibit followed by a dash (-) separator and a page number. The exception to this is the first page, which is composed only of the name of the exhibit without the separator or number. |
| • | Page numbers reflect the page count of the original document. |
| • | Exhibit numbers, trial exhibit numbers, and Bates numbers are not assigned. |
After importing exhibits you can change these assignments either individually or in multiples. For more information on changing items individually, see: Editing Item Properties. For more information changing items in multiples, see: Wizards for Renaming, Renumbering, and Bates Numbering.
Combining multiple files into one exhibit
If you import multiple files in the import process, you can combine the files into a single exhibit or you can import each file as a separate exhibit.
If some of the files you want to import represent individual exhibits and others represent multiple pages of the same exhibit, then run the exhibit import wizard once, to import all of the single-file exhibits, and then run the wizard again for each exhibit that is composed of multiple files.
For example, suppose Bill wants to import three exhibits. Two of the exhibits are PDF files: ExhibitA.pdf and ExhibitB.pdf. The third exhibit, Exhibit C is composed of a series of TIF files. To be certain that each exhibit retains its identity as a separate exhibit in the case, Bill would run the import wizard twice. The first time, he would import Exhibit A, and Exhibit B in the same session. After that, he would run the import wizard again to select all of the TIF files. When you import a set of image files only, Sanction provides an option at the end of the Import Wizard to combine the files into one exhibit. So for Exhibit C, he would click the option in the wizard to combine the files.
| 1. | With a case open, do one of the following: |
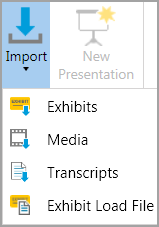
| • | On the FILE tab, click Info, click Import, and then click Exhibits. |
| • | On the HOME tab, click Import. and then click Exhibits. |
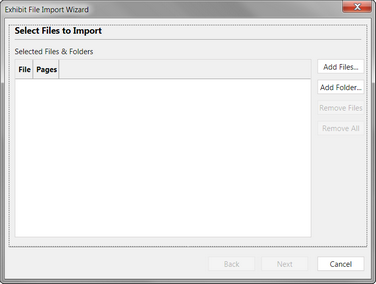
The Exhibit File Import Wizard starts.

The Select Files to Import dialog box opens.
| 3. | Open the folder that has the exhibits that you want to import. |
| 4. | Do either of the following, depending on what you want to import. |
| • | Click Add All to add all the listed items. |
| • | Select individual files or folders and then click Add Selected. |
| • | After adding items, you can remove them as needed from the queue. To remove one or more items, CTRL+click or SHIFT+click items and then click Remove Selected. To remove all items, click Remove All. |
Items that are ready to be exported and are listed in the right panel of the dialog box.
| 6. | Add more items or remove items from the list as needed. |
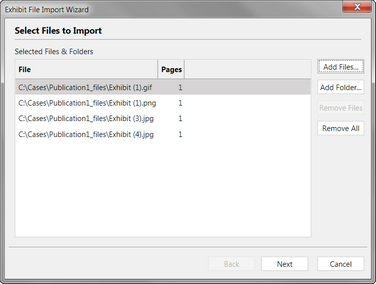
| 7. | When your list contains all the files you want to import, click Next. |
The Select Import Destination Folder dialog box opens.
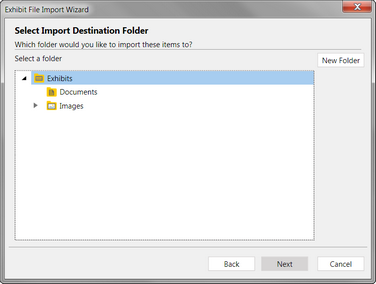
| 8. | Select a destination folder and then click Next. If necessary, you can click New Folder and then create a new folder as a destination for the import. |
| 9. | This step depends on whether you have selected a single file for import or multiple files. |
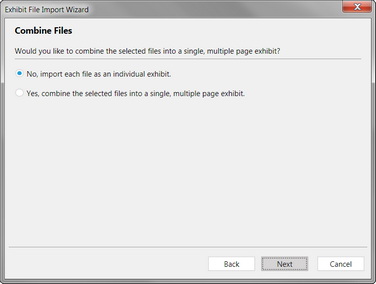
If all of the files selected for import are image files, the Combine Files dialog box opens.
Do one of the following, depending on whether the files should all be combined into a single exhibit.
| • | Click Yes only if all the image files belong to the same exhibit. |
| • | Keep the default as No, and then click Next if each file represents a different exhibit. |
| • | Click Cancel and then restart the wizard if some of the files should be combined and others should not. |
The Ready to Import dialog box opens.
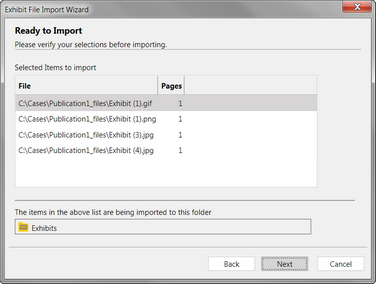
| 10. | Review the summary of your import selections. If the file list and destination folder are all right, then click Next. |
The import proceeds. When completed, the Import Confirmation dialog opens. If any error occurred during import, it is noted on the dialog box.
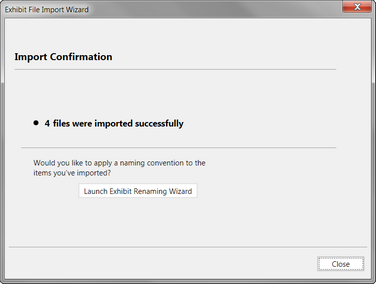
| 11. | Do one of the following: |
The files are added to the case in the folder you selected.
|
With Sanction, you can bring exhibits into your case by importing load files formatted as Opticon .LOG or as IPro LFP.
| 1. | With a case open, do one of the following: |
| • | On the FILE tab, click Info, click Import, and then click Exhibits. |
| • | On the HOME tab, click Import, and then click Exhibits. |
| 2. | In the Welcome dialog box, click Next. |
The Select Files to Import dialog box opens.
| 3. | Click Add File and then browse to the exhibit load file. |
| 4. | Select the load file and then click Load. |
The Select Files to Import dialog box opens again.
| 5. | Click Add File and then select a load file, or click Next to continue with the wizard. |
| 6. | Select the folder where you want to save the exhibits. |
| • | If you want to create a new folder, then click New Folder, type a name for the folder, select a destination folder and then click OK. |
The Ready to Import dialog box opens.
| 7. | Verify your selection and then click Next. |
The Import Confirmation dialog box opens, which provides a count of the files that were imported.
|
|


