Creating cases

Contents
Each case you want to include in CaseMap requires its own case file. A new case can be created quickly so you can add case staff and initial case data within minutes. CaseMap's New Case Wizard provides you with a default new case template that accommodates most of your data entry needs. The example case, Hawkins v. Anstar, uses a new case template.
|
Each time you create a new case, it's important to identify the time zone where the facts in the case occurred — not where your organization is located. Once you set the time zone for a case, you cannot reset it later. |
|
For more information on how to create SQL cases and add users to SQL cases, refer to your CaseMap Server documentation. |
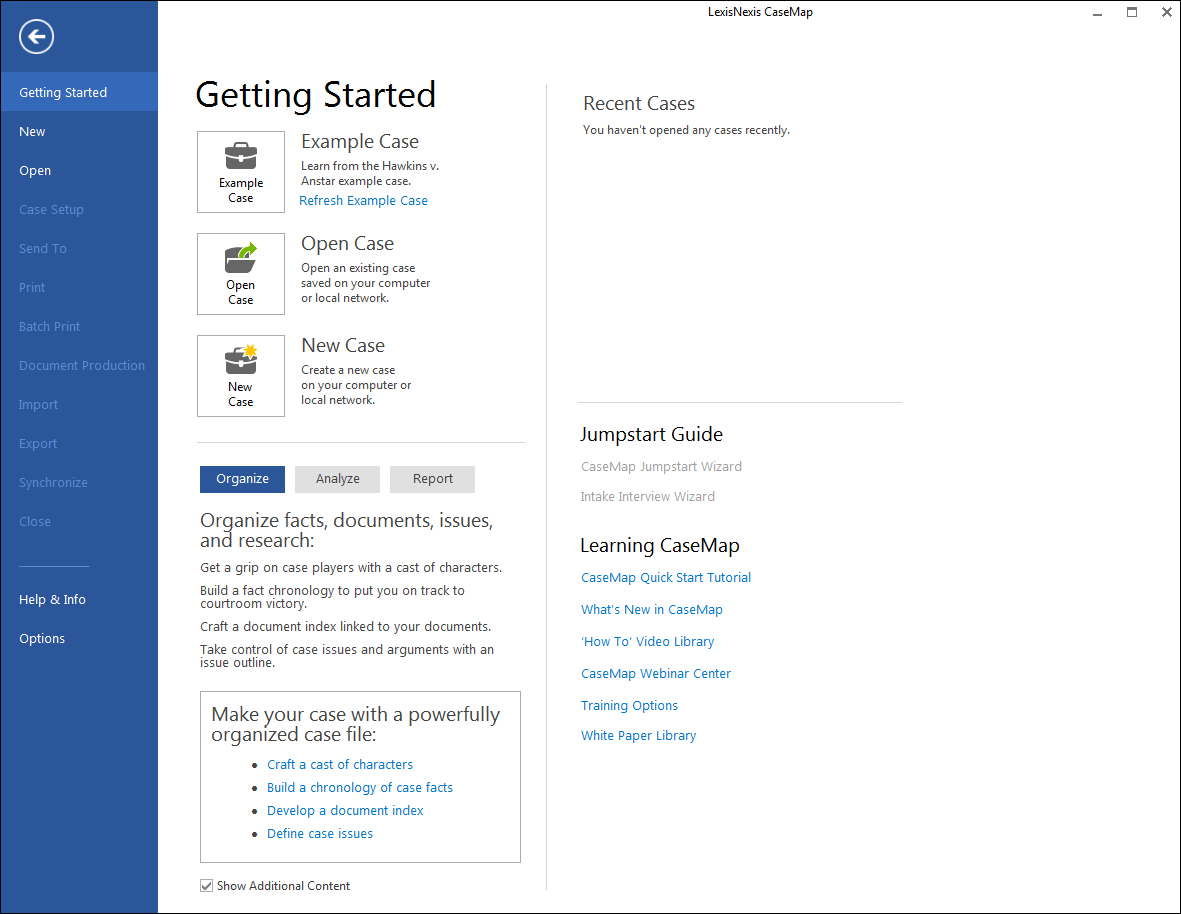
You can also open the New Case Wizard from the New pane by clicking Local Case.
You can use spaces, commas, and periods in the name, but you cannot use apostrophes, colons, quotations marks, slashes, or asterisks. We recommend that you don't use any punctuation except for the underscore. The case name displays on the CaseMap title bar and prints on reports.
The case time zone should reflect the primary location of where your case takes place and where most facts and events occur. Once you select the case time zone, you cannot change it later.
The selected template name and path now display in the Select a template box. If you selected the wrong template, click the Remove button to delete.
The case file name is the name of the case database file that is saved to your machine or in a network folder. The default location for case storage is the My Documents > CaseSoft > CaseMap folder on your hard drive. For other users to access the file, it must be stored in a network folder.
Your new case automatically launches within CaseMap so you can begin customizing spreadsheets and adding users. The case is not yet password protected; you can do this on the Tools menu by clicking Change Password. The Case Jumpstart Wizard also launches after the new case opens. For more information see Using the Case Jumpstart Wizard. |