Importing Exhibits

Contents
To import exhibits, you can either drag and drop them into the Exhibits tree in Sanction, or you can run the Exhibit Import Wizard, which is available from FILE > Info > Import or from HOME > Import. To import a series of scanned files as one exhibit, use the Exhibit Import Wizard.
|
Any files that are not PDF or image files are automatically omitted from being imported. |
If you import folders, Sanction creates new folders in the Exhibits tree that mirror those you import.
|
When you import files, Sanction copies the source files to your case. The import process does not move or change the source files in any way. |
When you import exhibits, Sanction assigns a name to each exhibit and exhibit page. It also numbers the exhibit pages. Naming and numbering are determined as follows:
|
By default, when you import a set of image files, each file is imported as an individual exhibit. However, when you use the Exhibit Import Wizard, you are given the option to combine all the image files you are importing into a single exhibit.
Combining files is an all-or-nothing operation. When you run the Exhibit Import Wizard, and you select the option to combine files into one exhibit, all of the files imported in that import session are combined. When you use the option to combine files, take care to include only files that all belong to that one exhibit. Example Suppose Alice wants to import 3 exhibits. Two of the exhibits are multi-page PDF files: Contract_A.pdf and Contract_B.pdf. The third exhibit, is a scanned report comprised of several TIF files. To be certain that each exhibit retains its identity as a separate exhibit in the case, Alice runs the import wizard twice. The first time she runs the import wizard, she selects just the two PDFs. After the import, each PDF appears in the exhibit folder as a separate exhibit. The second time she runs the import wizard, she selects the TIF files. Because all the TIF files belong to the same exhibit, in the import wizard she uses the option to combine all the files into one exhibit. After the import, all of the TIF files are combined into a single exhibit. |
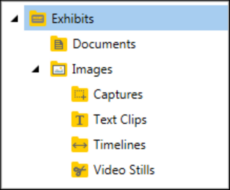
The Exhibits folders are listed.
The Drag & Drop File Import dialog box confirms the file import by providing a count of the number of files that were imported and notes if any files were not imported. If you dropped folders, Sanction creates new folders in the Exhibits tree that mirror those you dropped.
For more information on renaming and renumbering, see: Wizards for Renaming, Renumbering, and Bates Numbering. |
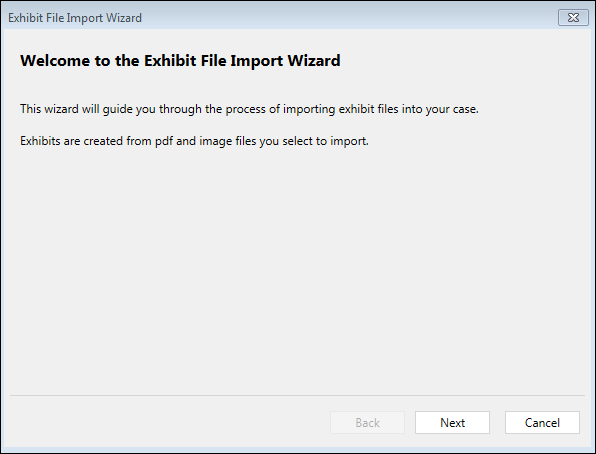
The Exhibit File Import Wizard starts.
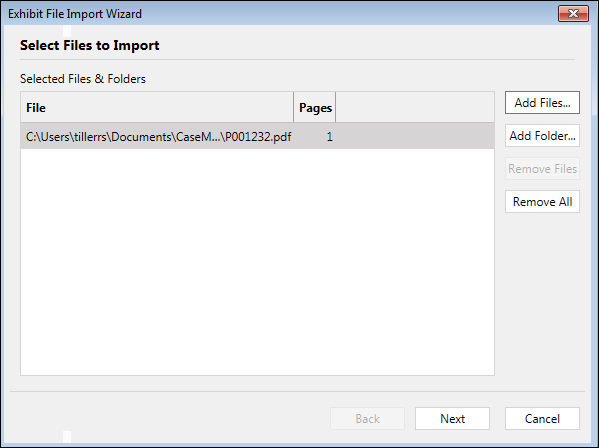
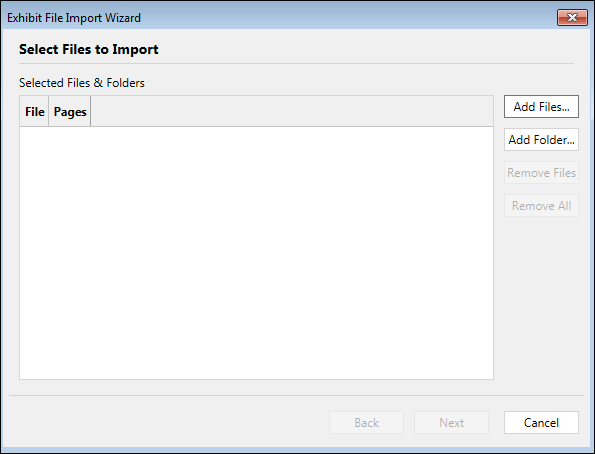
The Select Files to Import dialog box opens.
or
Repeat the steps as needed to add more files.
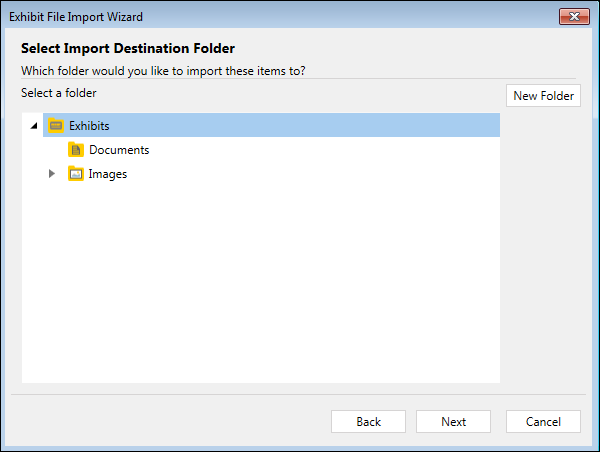
The Select Import Destination Folder dialog box opens.
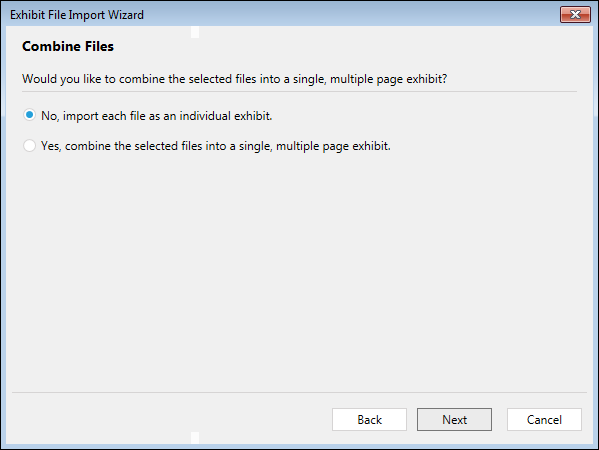
If all of the files selected for import are image files, the Combine Files dialog box opens. Do one of the following, depending on whether the files should all be combined into a single exhibit.
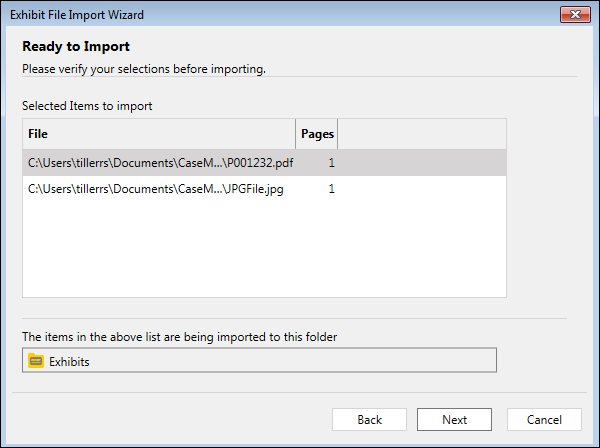
The Ready to Import dialog box opens.
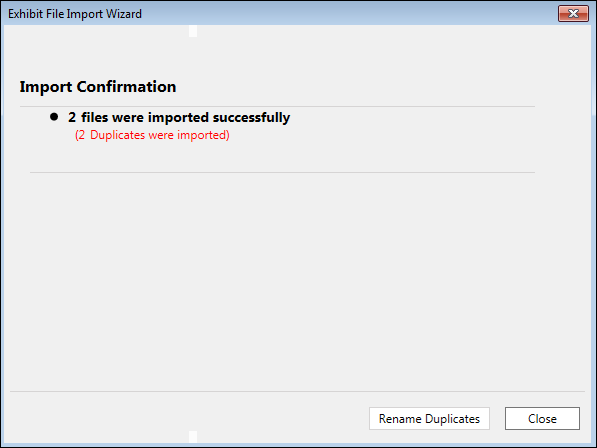
The import proceeds. When completed, the Import Confirmation dialog opens. If any error occurred during import, it is noted on the dialog box. If any duplicates were imported, it is noted in the dialog box.
The files are added to the case in the folder you selected.
You can also press F2 to rename the file.
|

With Sanction, you can bring exhibits into your case by importing load files formatted as Opticon .LOG or as IPro LFP.
The Select Files to Import dialog box opens.
The Select Files to Import dialog box opens again.
If you want to create a new folder, then click New Folder, type a name for the folder, select a destination folder, and then click OK. The Ready to Import dialog box opens.
The Import Confirmation dialog box opens, which provides a count of the files that were imported.
|
||||||||||||||||||||
|
The Exhibit File Import Wizard starts.
The Select Files to Import dialog box opens.
The Select Import Destination Folder dialog box opens.
The Ready to Import dialog box opens.
The import proceeds. When completed, the Import Confirmation dialog opens. If any error occurred during import, it is noted on the dialog box.
The files are added to the case in the folder you selected.
You can also press F2 to rename the file.
|