You can add items to presentations from the main program window or from the presentation window. This topic focuses on how to add items from the main program window. To learn how to add items while presenting, see: Adding Items During the Presentation.
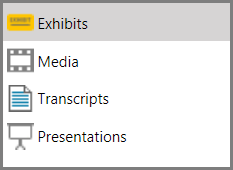
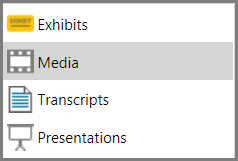
| 1. | Click the navigation bar that corresponds to the type of item you want to add to your presentation. |
| 2. | Select the item that you want to add. |
| 3. | Do one of the following: |
| • | On the HOME tab, in the Add To group, click Presentation, and then click the presentation that you want to add the item to. |
| • | Right-click the item, click Add to Presentation, and then click the presentation that you want to add the item to. |
| 4. | Optionally, to verify that the item was added to the presentation, click the Presentations navigation bar and then select the presentation. |
Items that were added appear in the presentation item list. After you add items, you can change their sequence in which they will appear in the presentation. For more information, see: Changing Item Presentation Sequence.
|
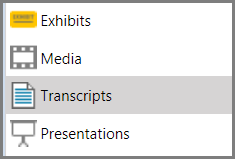
| 1. | On the HOME tab, click the Presentations navigation bar. |
| 2. | In the presentation list, click the presentation you want to remove items from. |
| 3. | In the item list, select items you want to remove and then do one of the following: |
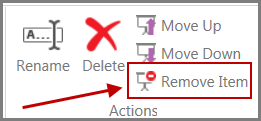
| • | On the HOME tab, in the Actions group, click Remove Item. |
| • | Right-click the items and then click Remove Item. |
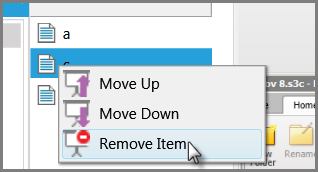
The selected items are removed from the presentation.

|
Never use the Delete command to remove an item from a presentation. Attempting to do so will delete the entire presentation.
|
|