Exporting video clips

Contents
Video clips can be any selected text in a transcript or annotations made of video transcripts during review. To identify video clips you want to export, you can read the transcripts or search them using TextMap's Search functions. Or you can review the Annotations pane to find a desired passage by scanning your notes, linked issues, linked facts and text highlights for a selected transcript.
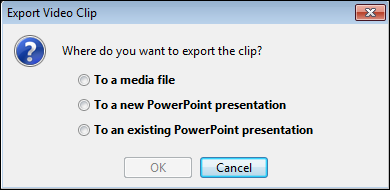
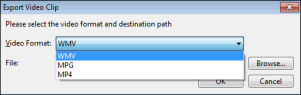
You can export the clip to a media file, insert it into an existing PowerPoint presentation, or put it into a new PowerPoint presentation. Exporting to PowerPoint requires version 2002 or higher. Although the default location for saved *.wmv, *.mpg and *.mp4 files are My Media\My Videos, TextMap also allows you to determine where you want to save exported video clips.
You will need Windows Media Encoder version 9 or higher to export clips. You may have installed the encoder as part of TextMap's Install Wizard. If not, TextMap will look for the encoder on your computer when you try to export a clip. If you don't have Windows Media Encoder, TextMap provides a link to a Microsoft Downloads page where you can get more information about the free component and download it.
TextMap can optionally use the FFmpeg encoder to export clips to the .wmv, .mpg, and .mp4 format. You can set the option to export to these formats in the Options tabs. See Changing case options for more information.
|
Please note that LexisNexis makes no warranty regarding, and is not responsible for the installation or use of FFmpeg or any other third-party product or software code. |
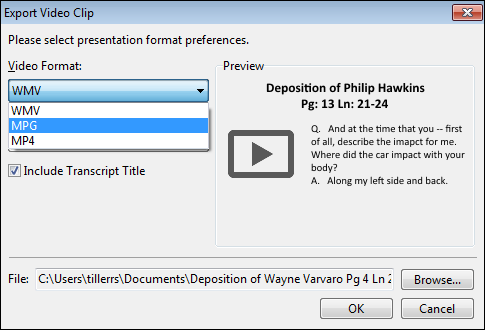
If you are exporting a video clip to a Microsoft PowerPoint presentation, the video clip displays on a slide with a page/line reference and all text from the annotation, along with an image of the first frame of the video clip.
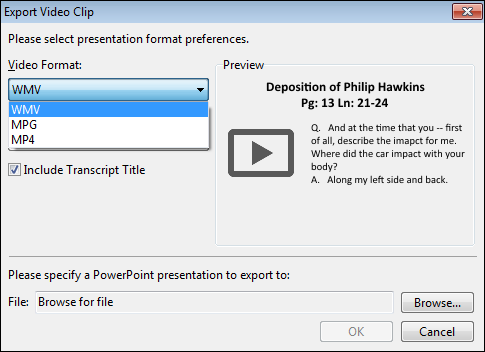
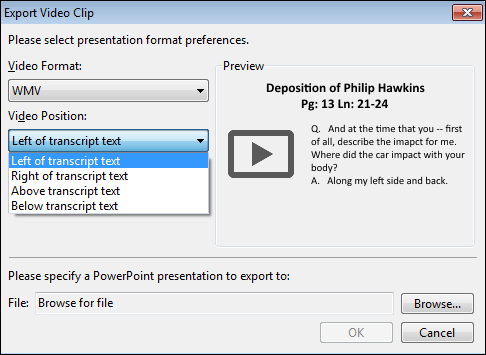
TextMap has options to export video clips to a new or existing PowerPoint file. You can select and preview the following presentation format preferences:
| • | Video Format (WMV, MPG or MP4) |
| • | Video Position (Left, Right, Above or Below transcript text) |
| • | Include Transcript Title |
TextMap saves exported clips as media files in the same location as the presentation. Double-click the image in PowerPoint's Normal mode or click on it in Presentation mode to play the video.
| To export video clips |
You can also right-click the color annotation in the transcript and then click Video and Export Clip.
To a new PowerPoint presentation
To an existing PowerPoint presentation
|

You can also right-click the color annotation in the transcript, or click the Annotations menu, click Video, and then click Export Multiple Clips. The Export Multiple Video Clips Wizard displays.
The Export Multiple Video Clips Wizard opens, displaying the location/path of the exported files.
The Exporting Video Clips screen displays. Please wait while TextMap exports the video clips.
TextMap completes the export and stores the file(s) in the selected folder. It makes the name of each file unique by adding a number to the end of it (e.g., Deposition of Wayne Varvaro Pg 4 Ln 6 - 7 (2).wmv), where (2) is the unique identifier.
|


If you have a number of clips it may not be practical to email the presentation and clips. In that case, using a USB drive or burning the presentation and related *.wmv files to CD may be a better option for you. This options also allows you to transfer a PowerPoint presentation from your office computer to a laptop, if need be. You can move saved *.wmv file clips by copying them onto portable storage media like a USB flash/thumb drive or CD. If you saved the files to the default location the clips will be in My Media/My Videos. When you move a PowerPoint presentation with clips make sure you take along the exported video files (*.wmv) that are in the same folder with the presentation file. The video files will have names like "Deposition of Wayne Varvaro Pg 5 Ln 13 - 18.wmv". Save the presentation and associated videos in the same folder. Your presentations and clips will play from a CD or USB drive. |