Adding index locations
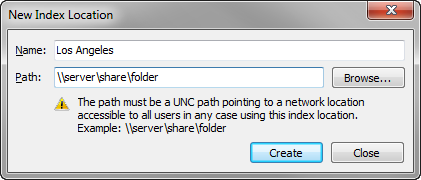
SQL cases for CaseMap v10+ and TextMap 7.0+ require that you add an index location. The index location is the folder where the index is stored for one or more cases. You must enter both a name and path for each index location. The path must be a UNC path and a network location accessible to all users in any case using the index location. For example: \\server\indexes\my location.
Each index location name must be unique, however two index locations may have the same path. You can also set a default index location for all new SQL cases. See Setting a default index location.
The index location displays in the SQL Cases list in the Index Locations column. If a case is not linked to an index location, "Not Set" displays in the Index Location column. For CaseMap v9.0 and TextMap v6.0 cases, an index location is not needed and "N/A" displays in the Index Location column.
You can also click the View menu and then click Index Locations.
You can also right-click on Index Locations and click New Index Location or click the Action menu and click New Index Location. The New Index Location dialog box displays.
The maximum name is 100 characters.
The maximum path is 1,000 characters.
The index location now displays in the Index Location column on the SQL Cases pane.
|
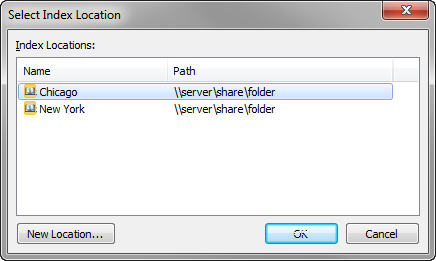
Click the New Location button if you want to add a new index location. In the New Index Location dialog box, type in the new index name and path, then click OK.
The index location now displays in the SQL Cases pane in the Index Location column. |


