As you run a presentation, you can use the tear out tool to temporarily magnify one or more rectangular areas of an exhibit. Tear outs can be created from within the presentation window by accessing the annotation tools gallery, or they may be created in the main program window from the IMAGE TOOLS tab.
Note the following considerations when using the tear out tool:
| • | Tear outs can be annotated, resized, and moved. |
| • | You can make multiple tear outs on an exhibit. |
| • | Tear outs do not persist after moving to another item or closing the presentation. |
| • | Tear outs display on Layer 1, which means that until you close a tear out, it remains visible regardless whether other layers are set to be visible or not. |
| • | Dragging the mouse across a tear out creates a highlighted area on Layer 1 of the exhibit page. The highlight persists on Layer 1 after the tear out is closed. For more information on layers, see: Annotation Layers. |
| • | Unlike other image tools, tear outs created in the main window are not reflected in the presentation window. For this reason, tear outs created in the main window are typically used for practice purposes only. |
| • | To access the tear out tool, open the tools gallery of the presentation window. Or click the IMAGE TOOLS tab in the Exhibits area of the main window. |
| 1. | In the presentation window open the exhibit you want to use the tear out tool on. |
| 2. | Do either of the following: |
| • | Click the annotation tools button located on the lower right corner of the item window, and then select the Tear Out tool. |
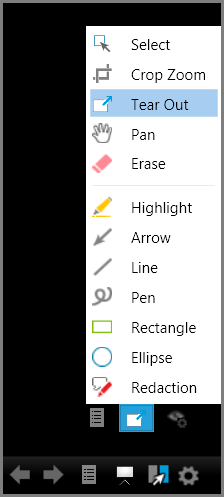
Tear Out tool in the presentation window
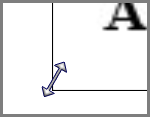
| 3. | To create the tear out, drag across the exhibit. When you release the mouse, the tear out displays on top of the presentation. |
|
| 1. | Select the exhibit you want to use the tear out tool on. |
| 2. | Select the IMAGE TOOLS tab. |
| 3. | Either press Ctrl+O, or click Tear Out. |

| 4. | Select Standard or Ripped Edge, depending on the effect you want. |
| 5. | Drag across the exhibit. When you release the mouse, the tear out displays on top of the presentation. |
To close the tear out, double-click it.
|
| 1. | Select the tear out tool and then drag across the exhibit. |
| 2. | A tear out window opens. |
| 1. | Right-click the tear out area on the screen. |
The annotation gallery appears.
| 2. | Apply annotations as needed. |
|
|
You can set the defaults for tear outs from the main window or from within the presentation window.
| 1. | Do either of the following: |
| • | From the main window, on the FILE tab, click Options. |
| • | From the presentation window, click  . . |
The Sanction Options dialog box opens.
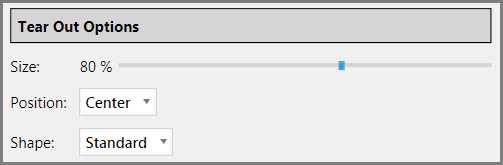
| 3. | In the Tear Out Options area, adjust the default tear out size, position, and shape as needed. |
| • | Size can be set to between 50 to 100 percent. |
| • | Position can be set to the top, center, or bottom of the screen. |
| • | Shape can be set to default, which is a smooth edge, or to a ripped edge. |
|