You can import transcripts, including synchronized transcripts into your case.
There are two ways to import transcripts into your case. You can either drag and drop transcripts directly into the transcripts list, or you can run the Transcripts Import Wizard, which is available from FILE > Info > Import or from HOME > Import.
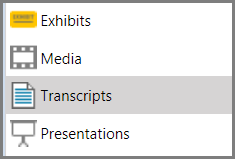
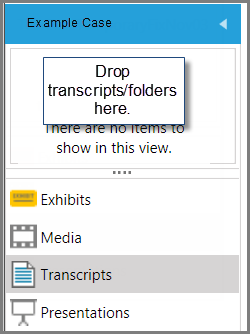
| 1. | With a case open, click the Transcripts navigation bar. |

| 2. | Drag and drop transcripts individually or by the folder to the list area just above the navigation bars. |

A dialog box confirms the file import by providing a count of the number of transcripts that were imported and notes if any were skipped.
|
| 1. | With a case open, do one of the following: |
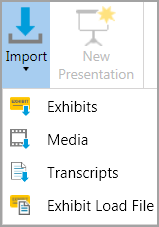
| • | On the FILE tab, click Info, click Import, and then click Transcripts. |
| • | On the HOME tab, click Import. and then click Transcripts. |

The Transcript File Import Wizard opens.
The Select Transcript Files to Import dialog box opens.
| 3. | Click Add Files and then browse to the folder where the transcripts are located. Select the transcripts you want to import and then click Open. The transcripts you selected are listed in the dialog box. Repeat this step as needed to select more transcripts. |
The Ready to Import dialog box opens.
The selected transcripts are imported and the Import Confirmation dialog opens displaying a count of imported transcripts.
| 6. | Do one of the following: |
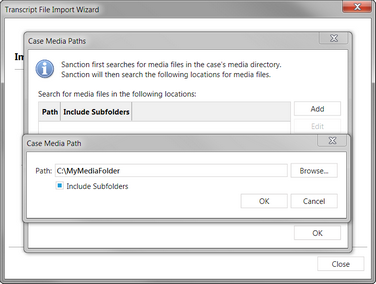
| 7. | If any of the transcripts you imported are synchronized transcripts click the Select Media Paths button and then do the following: |
| • | For each synchronized transcript listed, make sure there is a media path. |
| • | If any path that is missing, click Add, click Browse and then select the folder that contains the media. If you want to select a folder at a higher level, such as the root of an external drive you can click Include Subfolders. |

If importing synchronized transcripts, at the end of the import wizard, click Select Media Paths and add paths to the media files.
|


