Import Media

You can import video and audio files into your case.

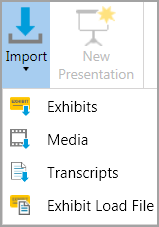
There are two ways to import media. You can either drag and drop folders and files directly into a folder in the Media area, or you can run the Media Import Wizard, which is available from FILE > Info > Import or from HOME > Import.

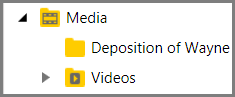
If you import folders of media items, Sanction creates new folders in the Media tree that mirror those you import.

hmtoggle_plus1To import exhibits by using drag and drop
1.With a case open, click the Media navigation bar.

NavBars_MediaSelected


MediaTree

The Media folders are listed.

2.Drag and drop files or folders into any folder in the Media tree, except Playlists. 

A dialog box confirms the file import by providing a count of the number of files that were imported and notes if any files could not be imported.  

3.Click Close to finish the import.
hmtoggle_plus1To import media by using the import utility
1.Do one of the following:
Press Ctrl+I.
On the FILE tab, click Info, click Import, and then click Media.
On the HOME tab, click Import. and then click Media.

ImportOptionsA

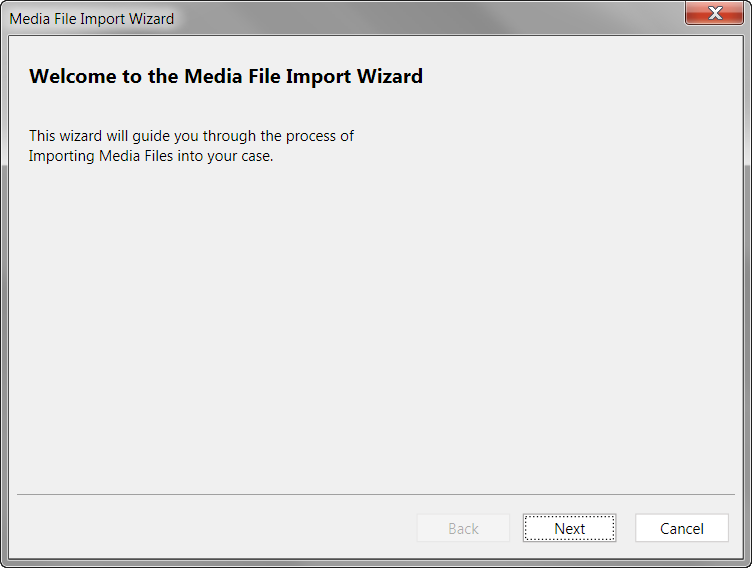
The Media File Import Wizard starts.

mediaimportwizard1_zoom50

2.Click Next.

The Select Files to Import dialog box opens.

mediaimportwizard2_zoom50

3.Click Add Files or Add Folder, depending on whether you want to select files individually or by the folder.

Option

Perform these steps

Add files individually

1.Click Add Files.
2.Browse to the folder that has files you want to add.
3.Select one or more files, and then click Open.

Add a folder with or without its subfolders

1.Click Add Folder.
2.Browse to the folder that has files you want to add.
3.Click Select Folder.
4.Add more items or remove items from the list as needed. When your list contains all the files you want to import, click Next.

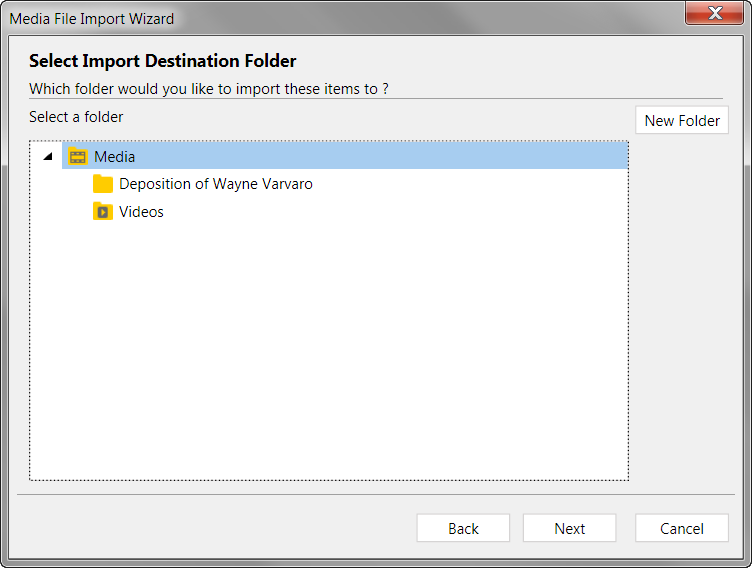
The Select Import Destination Folder dialog box opens.

mediaimportwizard3_zoom50

5.Select a destination folder and then click Next. If necessary, you can click New Folder and then create a new folder as a destination for the import.

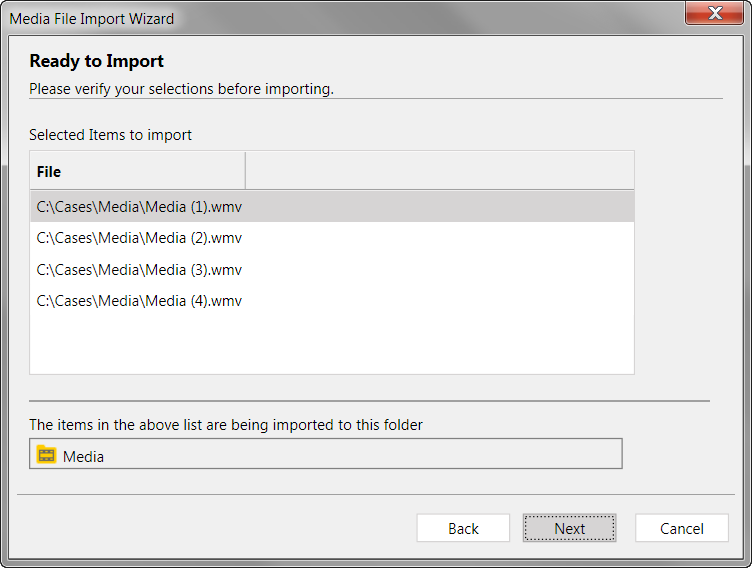
The Ready to Import dialog box opens.

mediaimportwizard4_zoom50

6.Review the summary of your import selections. If the file list and destination folder are all right, then click Next.

The import proceeds. When completed, the Import Confirmation dialog opens. It provides a count of the number of transcripts that were imported. Any error that occurred during import is noted on the Import Confirmation screen.

mediaimportwizard5_zoom50

7.Click Close.

The files are added to the case in the folder you selected.


related_topics_buttonRelated Topics

Need additional help? Email CaseMap support at: casemap.support@lexisnexis.com, or contact a support representative at 800.543.6862 (Option 2, then Option 4). The CaseMap Support team is available between the hours of 9:00 a.m. to 7:00 p.m. Eastern Time, Monday - Friday.

© 2018 LexisNexis. All rights reserved.