Clip Lists for Synchronized Transcripts

If you need to create many individual clips from the same synchronized transcript, using a clip list can save you time when compared to typing each clip individually into the Quick Clip field of the media player.

A clip list is a plain text file that contains a list of the clips that you want to create from a synchronized transcript. You can create a clip list by using any text editor, such as Notepad. After you create a clip list file, you can use Sanction to import it, which will create the clips.

hmtoggle_plus1To create the clip list file
1.Read over the transcript to identify the page and line numbers where you want each clip to start and end.
2.Open a plain text editor, such as Notepad.
3.For each clip you want to create, type the page and line number for the start of the clip followed by the page and line number for the end of the clip, using the following format:

Pg:Ln-Pg:Ln

For example, the following would create 2 individual clips: 

4:14-4:17

5:2-6:20

The first clip would start on page 4, line 14 and end on page 4, line 17. The second clip would start on page 5, line 2, and end on page 6, line 20.

4.After each page and line range add a hard return. 
5.Save the file.
6.Use Sanction to import the file. The import process is described in the next procedure of this topic.


ac_note_icon

Any of following formats may be used to designate ranges for individual clips:

Pg.Ln+Pg.Ln

Pg:Ln+Pn:Ln

Pg.Ln-Pg.Ln

Pg:Ln-Pg:Ln

hmtoggle_plus1To import the clip list
1.On the HOME tab, click the Transcripts navigation bar.

NavBars_TranscriptsSelected

2.Click the synchronized transcript that you want to create the clips for. 

TranscriptsList

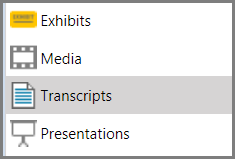
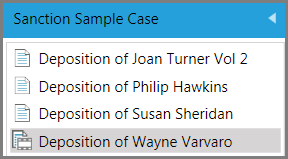
Synchronized transcripts are marked with a film frame icon

3.On the HOME tab, click Import, and then click Clip List.

The Welcome to the Clip List Import Wizard dialog box opens.

1.Click Next.

The Select Clip List File to Import dialog box opens.

2.Click Add File.
3.Navigate to the clip list file, select it, and then click Open.

The clips are listed in the Select Clip List to Import dialog box.

4.Click Next.

The Import Confirmation dialog box opens.  

5.Click Close.

The clips are created for the synchronized transcript and ready to use.


related_topics_buttonRelated Topics

Need additional help? Email CaseMap support at: casemap.support@lexisnexis.com, or contact a support representative at 800.543.6862 (Option 2, then Option 4). The CaseMap Support team is available between the hours of 9:00 a.m. to 7:00 p.m. Eastern Time, Monday - Friday.

© 2018 LexisNexis. All rights reserved.