If you are using CaseMap with CaseMap Server and did not register a server during CaseMap installation, you will need to register a CaseMap Server in the client application in order for users to access SQL cases in CaseMap.
For more information about CaseMap Server, refer to the CaseMap Server documentation.
| 1. | On the File menu, click Options. |
| 2. | In the Options dialog box, click the CaseMap Servers tab. |

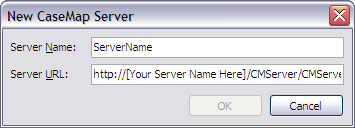
| 4. | In the New CaseMap Server dialog box, type in the client server address in the Server Name field. |
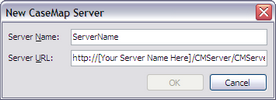
| 5. | In the Server URL field, type in the path to the server, then click OK. |
For example: http://[Your Server Name Here]/CMServer/CMServerClient.svc.
| 6. | Click OK when you are finished. |
The server you registered now displays in the Registered CaseMap Servers box.
|
| 1. | On the File menu, click Options. |
| 2. | In the Options dialog box, click the CaseMap Servers tab. |

| 3. | In the Registered CaseMap Servers box, select the server you want to edit. |
| 5. | In the Edit CaseMap Server dialog box, modify the server name or server URL, then click OK. |
The changes now display in the Registered CaseMap Servers box.
| 6. | Click OK to save your changes. |
|
| 1. | On the File menu, click Options. |
| 2. | In the Options dialog box, click the CaseMap Servers tab. |

| 3. | In the Registered CaseMap Servers box, select the server you want to remove. |
| 4. | Click the Remove button. |
The selected server no longer displays in the Registered CaseMap Servers box.
| 5. | Click OK to save your changes. |
|