If you want to work with exhibits, media clips, or playlists outside of Sanction, you can export these kinds of items. These options are available:
| • | When you export exhibits, you can burn in the annotations so that they appear on the exhibit images that are exported. |
| • | When exporting exhibits, you can also choose whether to export them using the same format they were in when they were imported, or you can export exhibits as PDF files. |
| 1. | Do one of the following: |
| • | On the FILE tab, in the Info area, and then click Export. |
| • | On the HOME tab, click Export. |
The Welcome dialog box opens.
| 4. | Open the folder that has the exhibits that you want to export. |
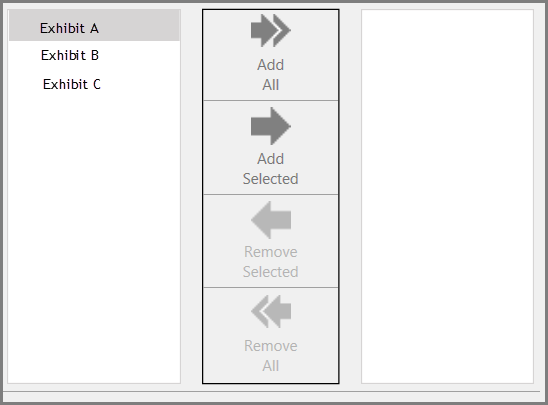
| 5. | Do either of the following, depending on what you want to export. |
| • | Click Add All to add all the listed items. |
| • | Select individual files or folders and then click Add Selected. |
| • | After adding items, you can remove them as needed from the queue. To remove one or more items, CTRL+click or SHIFT+click items and then click Remove Selected. To remove all items, click Remove All. |
Items that are ready to be exported and are listed in the right panel of the dialog box.
The Select... dialog box opens.
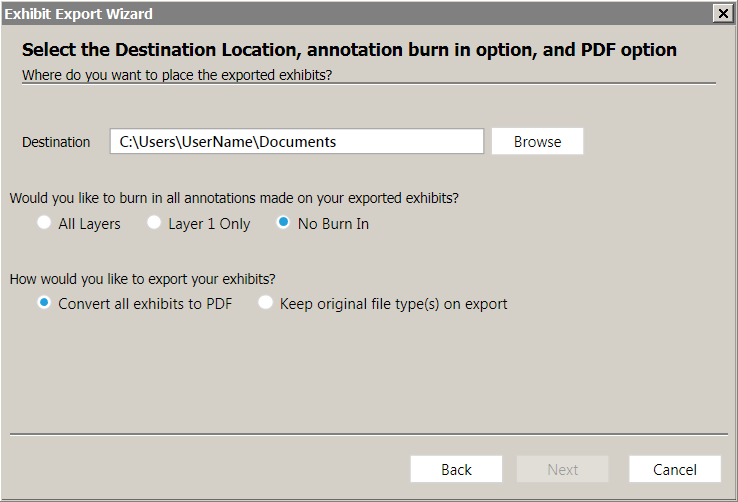
| 7. | Select options as follows: |
| • | Destination. Select the default, which is to the Documents folder for the currently logged in Windows user, or click Browse and then select a different folder. |
| • | Burn-in options. These options control whether annotations that have been applied to exhibits are saved to the page images on exported files. |
| o | All Layers. Saves all the annotations found on all layers to page images. |
| o | Layer 1 Only. Saves all exhibit stamps plus any the annotations found on layer 1 to page images. |
| o | No Burn-In. Prevents annotations and exhibit stamps from being saved on the image files. This is the default option. |
| • | Export to native or PDF. This option is available in the section marked, "How would you like to export your exhibits?" |
| o | Convert all exhibits to PDF. Each exhibit in the export set is exported as a separate PDF file. |
| o | Keep original file type(s) on export. Each exhibit is exported using the file format it had when imported. |
| 9. | In the Ready to Export dialog box, review your selections and then click Next. |
The export proceeds, and then the Export Confirmation dialog box opens.
| 10. | Click Close to finish the wizard. |
|
| 1. | Do one of the following: |
| • | On the FILE tab, click Info, and then click Export. |
| • | Select the HOME tab and then click Export. |
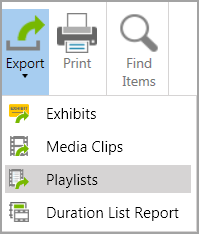
| 1. | To export exhibits, click Exhibits, to export media clips, click Media Clips. |
The Welcome dialog box opens.
| 3. | Do either of the following, depending on what you want to export. |
| • | Click Add All to add all the listed items. |
| • | Select individual files or folders and then click Add Selected. |
Items that are ready to be exported and are listed in the right panel of the dialog box.
The Select Destination Location dialog box opens.
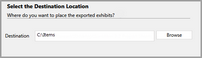
| 5. | Accept the default export path or click Browse to select a different folder. When ready, click Next. |
| 6. | In the Ready to Export dialog box. click Next. |
The Export Confirmation dialog box opens.
|
| 1. | On the HOME tab, in the Share group, click Export. |
The export wizard starts.
| 4. | Do either of the following, depending on what you want to export. |
| • | Click Add All to add all the listed items. |
| • | Select individual files or folders and then click Add Selected. |
Items that will be exported now appear in the right panel of the dialog box.
| 6. | Accept the default export path or click Browse and then select a different folder. |
| 7. | Click Next and then click Next again to complete the export. |
|