CaseMap and TextMap need to be installed before you can open the SQL case in either application.
Testing installation involves:
| • | Opening the CaseMap Admin Console and connecting to the CaseMap Server |
| • | Opening a SQL case in the CaseMap or TextMap client |
| 1. | Launch the CaseMap Admin Console. |
| 2. | In the Connect to CaseMap Server dialog box, type in or select the server you want to connect to in the Server Name field. |

| 3. | In the Authentication area, select the authentication method you want to use: Windows Authentication or Local User. |
If you select Local User, type in the User Name and Password.
You can now view the CaseMap Admin Console where you can register and publish cases, add users, etc.
|
| 1. | Launch either CaseMap or TextMap. |
| 2. | On the File menu, click Open, and then click SQL Case. |
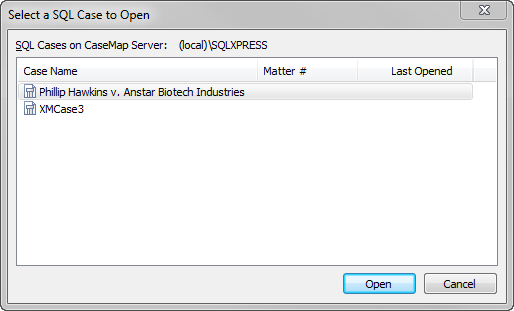
| 3. | In the Select a SQL Case to Open dialog box, select the SQL case you want to use, then click Open. |

| 4. | Verify that the case name displays in the upper left corner of application's title bar. |
| • | CaseMap — If you can view case records in spreadsheets and open an attached file, the installation was successful. |
| • | TextMap — If you can view transcripts and open an attached file, the installation was successful. |
|


